WELCOME
by dorothyeats
Hello, friends!
It’s been over a year since I started #dorothyeats on Instagram, and an impulsive purchase of an ice cream maker has finally pushed me to follow me dreams. Thank you, to everyone who has encouraged me to do so, because without your support, I would have never even known where to begin.
I’m super excited to begin this with a dessert I recently discovered. This weekend, down the shore, my friend and I stumbled upon Cookman Creamery. Even after a few too many shots of tequila, I can remember the rich Strawberry Balsamic creaminess and the freezer filled with beautiful ice cream cakes and… pies? I, a renowned ice cream connoisseur, had never heard of such a thing before!
Today, as I reminisce about this heavenly experience, I can’t help but feel the need to create one of my own for my good friend’s graduation party this weekend. Mostly in part because I missed the 7 day notice for pick-up orders, and also, because they do not have banana ice cream on their menu of ice cream fillings. It was particularly challenging to find the right banana ice cream with the healthy banana ice cream trend lately, and knowing my friend, “healthy ice cream” would not cut it. After much searching, I think I found the one, so without further ado, I present:
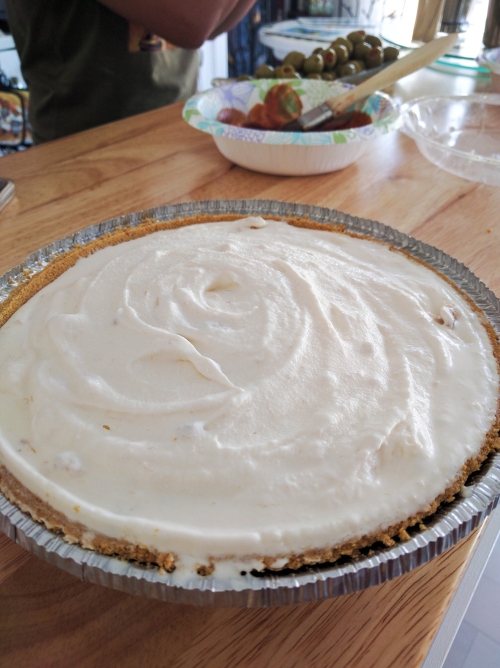
BANANA [ice] CREAM PIE
For the crust:
I had a recipe for the crust, but I bought a ShopRite graham cracker crust because it was dirt cheap. I am not proud of this decision. Lesson learned.
For the ice cream:
- 2 cups of half & half
- 1-1 1/4 cup of sugar
- pinch of salt
- 2 eggs, lightly beaten
- 2 cups of heavy whipping cream
- 5 oz. (1 can) of evaporated milk
- 2 tsp vanilla extract
- 1 cup of mashed bananas (2-3 bananas)
1. Heat up your half & half to 175 degrees in a saucepan. Ya girl does not have a thermometer so I just set it to medium heat.
2. Lightly beat your eggs in a separate bowl, add in a little bit of the heated half & half and put it back in the pan.
3. Whisk. This mixture should reach 160 degrees Fahrenheit, however, I remain thermometerless and after playing around with heat settings, I’m still unsure of what thickened the mixture. The recipe says low heat, but I think a medium heat setting worked out better. It felt like I was whisking for an hour and it happened like magic!
4. Take the saucepan off of your stove and place in a giant bowl filled with ice to cool off and whisk some more for about 2 minutes. (That’s right, this is not only a recipe, it’s also an arm workout.)
5. Mix in the whipping cream, evaporated milk and vanilla extract (yum), and cover everything with plastic wrap that touches the surface. Place in fridge.
*several hours later*
6. Add our mashed bananas and whisk some more. Mash up your bananas really well for a more uniform flavor across.
7. Fill your ice cream maker and watch the magic happen.
8. After about 30 minutes, my ice cream machine was overflowing because of the all the air in my ice cream, and that fresh ORGANIC (yes, I dished out on some organic bananas because why not?) banana was perfectly creamy.
9. Fill your pie crust and freeze it for at least 2 hours.
10. EAT IT. YOU EARNED IT. You can also drizzle a dulce de leche sauce, but make sure you half the recipe! I made it all and ended up with waaaay too much!
When I first took a bite, I was so ecstatic. You have no idea. I’m so excited for school to start so that I can have people to feed! Also, my friends said the ice cream was good too (just in case you don’t believe me). One said that the sauce looked like gravy (-.-“), but it doesn’t taste like gravy!
Regardless, if you have made it to the end, MUCHOS GRACIAS and much love. I will also be sure to take more pictures in my next post! That’s pretty much the best part about looking at other food blogs 😛
Adapted from TASTE and more Taste (of Home). Very original names. I shouldn’t be talking.
